This blog about how to write good melodies comes from teacher, composer, and orchestrator Geri Green. Geri is passionate about teaching music and all things creative, sharing her ideas with anyone who’ll listen through her blog TheEvolvingPianist.com. A multi-passionate music professional from a long line of piano teachers and musicians, Geri’s taught piano, theory and composition for over 15 years. She’s also a qualified and experienced composer and orchestrator in the Australian Film and TV industry. When Geri’s not hanging out with her 2 kids and her musician partner, she’s usually collapsed on the couch watching some sort of epic SciFi/Fantasy show with her cat Saffy on her lap.
Let’s face it. If you’ve ever asked a student to compose for the first time, you’ll know that often the melodies are a bit of a mess. Once in a while a miraculous melody will appear out of pure musical instinct, and that’s great. But more often than not, without any clear instructions the result will be a random collection of notes with no meaning or direction.

We can help guide students onto the right path towards writing good and memorable melodies by giving them a framework to follow. These 3 steps will help you do just that.
Step 1: Preparing
To write good melodies, start by establishing these 2 essentials:
- Scale
- Structure
Without these, students will be flying blind towards an inevitable plane wreck.
Tips for Beginners
- Scale: Start with an easy scale or pentascale as the pitch set.
- Structure: Use a simple structure like binary form (A B) or ternary form (A B A), with A being the first melody/motif and B being a contrasting melody/motif.
Tips for Intermediates
- Scale: Choose any major or minor scale. Better yet, experiment with non-traditional scale forms or modes such as the Dorian mode or a Persian scale.
- Structure: Simple forms still work great, but consider experimenting with other forms such as rounded binary (A A’ B A) or song form (A B A B C B B, or Intro A B A B A B Outro).
Tips for Advanced
- Scale and Structure: Really the sky’s the limit here. There are countless scales and structures to choose from, both simple and complex. Experiment and see what happens.
Step 2: Planning
You can’t do much of anything very well without a plan, and writing a melody is no different. In fact, the planning step might be the most important of all. Depending on their level, I usually like my students to think through these 5 elements before just diving into a composition:
- Phrases
- Harmonic Progression
- Shape and Climax Point
- Rhythm Set
- Repetition with Variation
Plan the Phrases
It’s helpful to think of a melody in terms of phrases instead of individual notes, which is why I like my students to create a map for the phrases.
Have them lay out a grand staff with blank lines. Add in a time signature and bar lines to mark the structure they’ve selected. (Four bars per line is a good baseline for beginners.) Include a double bar line at the end of the piece. If it’s needed, add the key signature to each line.
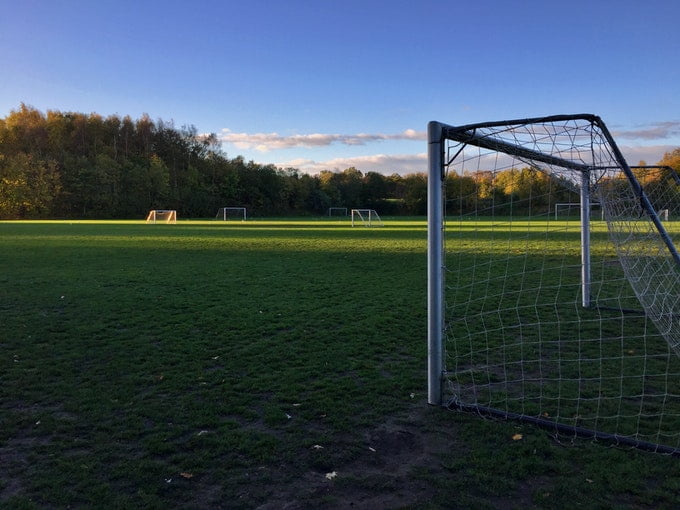
To write good melodies, think of each line as a goalpost for the melody. The end of the first line is the destination for melody A, and the second line is the destination for melody B.
Each of these lines will be a phrase.
Plan the Harmonic Progression
This doesn’t have to be complicated. For newbies, there might not be any harmony at all. For most beginner students, this may be as simple as having one chord per bar (playing just the root, or an open fifth.) For example:
- Anacrusis (if any) = Chord V
- 1st bar = I
- 2nd bar = IV
- 3rd bar = V
- 4th bar = I
Really anything goes with chord progressions. As long as the chords exist in the chosen scale, almost any chord will sound good.
Tips:
- Start and end a piece on I.
- Try to resolve to I occasionally through the piece. (Often this will be at the start or end of phrases, but it can also be in the middle.)
- Including an imperfect or interrupted cadence at the end of a phrase also works well (for example, ending on V or vi).
Plan the Melodic Shape and Climax Point
The melodic shape, also called the melodic contour, is the direction the pitch moves up and down along the melody. The climax is the highest pitch along that shape.

Listen to your favourite melodies and you’ll notice that many of them will fall into one of these similar shapes:
- Low to high to low (arch – this is the most common)
- High to low to high (reverse arch)
- High to low (downward curve)
- Low to high (rising curve)
To help them write good melodies, encourage your students to plan their phrases with a specific shape in mind. Knowing the shape of the phrase in advance takes much of the guesswork out of composing.
The shape can then be adjusted depending on where they want the climax point to be. Most often this will be about 3 quarters of the way through the phrase, but really it can be anywhere. It just depends on the shape you choose, and how you want to adjust it.
Plan the Rhythm Set
Of course, for melodies to make any sense at all there needs to be a rhythm.
Beginner students may not have the instinct to create their own rhythm patterns from scratch. For these students, give them a narrow choice of rhythm patterns to choose from for each melody. For example, show them 6 different 1-bar rhythm patterns and allow them to pick 2 for each motif.
Wondering why I didn’t say just let them choose a different rhythm pattern for each bar in the motif? Here’s why…
Plan for Repetition with Variation
For melodies to be catchy or memorable, there needs to be repetition and a subtle use of variation.

Repetition can come in a few different ways.
For rhythmic repetition, use 2 different rhythm patterns and vary them slightly by changing the pattern of one or two beats in the set. These new patterns can be used for the variation passages.
Melodic repetition is another kind of repetition, with or without variation. Exact repetition of part or all of a melodic phrase can work well, especially when returning to the A section. Adding a slight variation to part of the phrase, tho, works even better.
Depending on each student’s level, try transposing fragments up or down in pitch, changing some of the notes, or changing the direction the melody flows (melodic shape).
Step 3: Composing
Now that there’s a clear plan for writing the melody, your students can start putting pen to paper (so to speak).
Use Chord Tones and Passing Notes
If the harmonic progression is already mapped out, students can write good melodies using notes from the chord tones (the tonic, 3rd, or 5th of the chord.)
Most of the time, these chord tones are used on the strong beats of the bar. But for a bit more interest, experiment with putting chord tones on weak beats. Just make sure there is a chord tone on a strong beat to resolve the end of the phrase.
Tip: If students don’t understand chords just yet, give them a pitch set of notes to use on a particular beat. For example, if the melody is in D major, give them the notes D, F# and A to play on the strong beats of the bar.
Passing notes (or non-essential notes) are non-chord tones which go between chord tones. If we just had melodies using only chord tones they would be pretty boring. So, encourage students to sprinkle in some passing notes in between the chord tones.
Go for Sing-ability
Last (but definitely not least) your students should aim for melodies that move smoothly from one note to the other. Think about it: If you can sing the melody easily, chances are it will be more memorable.

As a general rule of thumb, singable melodies aim to have:
- Mostly: steps (2nds)
- Often: skips (3rds)
- Sometimes: small leaps (4th and 5th)
- Very occasionally: large leaps (6th, 7ths, 8ves)
Tip 1: If there is a small or large leap, always follow it with a small step-wise movement for contrast. Similarly, if you have lots of step-wise movements throw in a leap to add interest.
Tip 2: Aim to keep melodies within the range of an octave. Any more and you could lose sing-ability.
Bonus: Give Students a Framework
If you really want to give them a boost when teaching students to compose a melody, create a score for them with blank lines using MuseScore or something similar. Here are some elements you may wish to outline, depending on each student’s level:
- Add bar lines, a key signature and the time signature
- Label the form structure for each line (such as line 1=A, line 2=B, line 3=A)
- Choose a melodic shape for each phrase (or give students the choice from one or two options)
- Choose a rhythm set for them to use (or give students the choice from a few options)
- Plan the harmonic progression
- Mark up where the repetitions and variations could go
This may seem overly prescriptive, but giving students a clear framework helps them understand how the basics of a melody work.
From here you can gradually remove the framework and let their creativity take them where they want it to go.
It is so reassuring to have a composition PLAN. Can’t wait to try this out with some of my students very soon! Thank you for giving us teachers a solid framework to use with our students so we can begin composing together with confidence.
Hi Susan,
I hope it goes well for you with your students.
Gemma – Community Assistant