Have you ever had a student who seemed as if they would fly off the bench by invisible jet propulsion at any second? With these piano posture tips we’ll have even the wiggliest students who you’re teaching sitting proud. 🙂

⬆️ Listen to the podcast above or keep on reading, whichever fits your style. ↙️
Teaching piano posture to kids can be a challenge, especially when they have lots of energy and just don’t want to sit still at the bench. Here are some ideas, tips, and tricks to get you teaching piano posture to wiggly kids in a positive and healthy way.
Piano Posture Tip 1: Check Your Bench
Approximately 80% of the technique issues and questions I see from teachers end up having nothing to do with “technique” at all. The student is simply sitting:
- Too close
- Too far away
- Too high
- Too low
- Without somewhere to plant their feet
That might sound reductive, but I promise you it really is that common. 😬
Seat Height
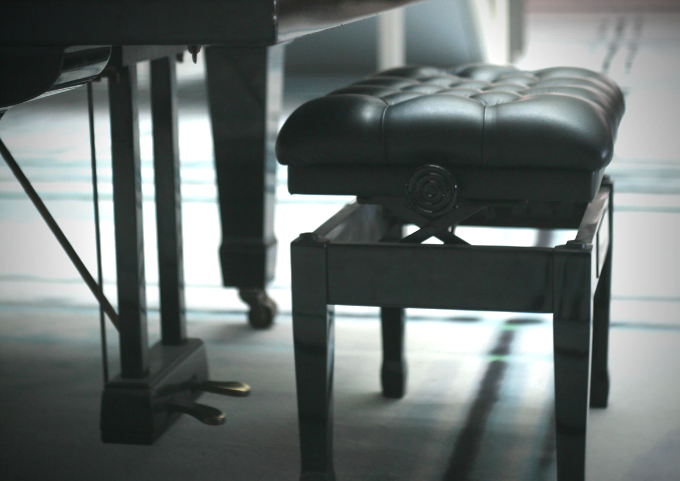
To play piano with proper posture and – ultimately – reduce the wiggles, students need to be sitting at the correct height. With their hands on the keys, their forearm should be parallel to the floor. If they’re reaching down, they’re sitting too high. If they’re reaching up (more commonly,) they’re sitting too low.
Students need an adjustable bench which rises to an appropriate height both in the studio and at home.
You probably have that studio part covered, but they spend (hopefully!) far more time playing at home than on your bench. I recommend getting your students’ parents to take a photo at least once a year (the start of a new year is a good time) of their kid sitting at their instrument at home.

A photo is the best tool so you can see the full picture. It’s no good having a normal adjustable bench if their keyboard is on an X-stand which brings it up to standing height!
Bench Distance
Teach your students to check their bench distance from the piano by lightly tapping their knuckles on the fallboard while sitting up tall. Their arms should be almost straight but not locked at the elbow when they do this.
For students with keyboards at home, teach them to tap their knuckles in front of the music stand on the flat plastic surface there for the same effect.
Foot Support
Having somewhere to firmly plant your feet is vitally important to good piano posture.
Don’t believe me? Try this experiment:
- Raise your bench to its maximum height so that your feet can’t touch the floor, then try to play a piece which moves all over the piano.
- If your bench doesn’t go high enough, try sitting on a bar stool (without putting your feet on the ledge) and playing an imaginary piano.
Not so easy is it?
Playing without proper foot support is like that moment when you sit up on a bicycle with the seat raised up too high. Your stomach lurches and all you can focus on is finding your balance. No wonder the wee ones without footstools are wiggling about!

Again, make sure this happens at home as well as the studio. Help parents to find something appropriate in their house like a stepstool or a plastic box turned upside down.
Piano Posture Tip 2: Get Moving
If your students are set up well at the piano in your lessons but you just can’t seem to keep them firmly on the bench…
…it’s because you’re trying to keep them on the bench.
Young students need to move. Broadly speaking, the younger they are the more frequently they need to move.
So get those bums off those benches! (Yes, plural. You need to move too. 😀)
Warmup Exercises
A good warmup routine is a great way to start your lessons. Vibrant Music Teaching members can find our One-Minute Warmup Series in the VMT Library, and we also released a shorter general warmup routine on our YouTube channel.
Psssst…Not a member? Join Vibrant Music Teaching today and get instant access to the One-Minute Warmups, plus hundreds of other resources.
Grab a Game
We play lots of games in our lessons, and many of those games involve moving around the room.
If you’re playing a game which doesn’t really involve movement but you have a wriggly, giggly student on your hands, put the cards on one side of the room and the board on the other so they have to run back and forth.
Rhythm in 5
Rhythm activities are another great way to integrate movement breaks with purpose. You can get the book on Amazon or take the course inside Vibrant Music Teaching.
Dance and March
Here’s a good rule of thumb:
Student’s age (in years) = Maximum stillness (in minutes)
If your student is 5 years old and 5 minutes have passed without you having a reason to get them moving, take a dance break! Get their bum off the bench and take over the keys to improvise some music for them to boogie or march to.
Piano Posture Tip 3: Employ a Cuddly Assistant
Those who have followed my blog for a long time might be familiar with my friend Steve the Stickler.

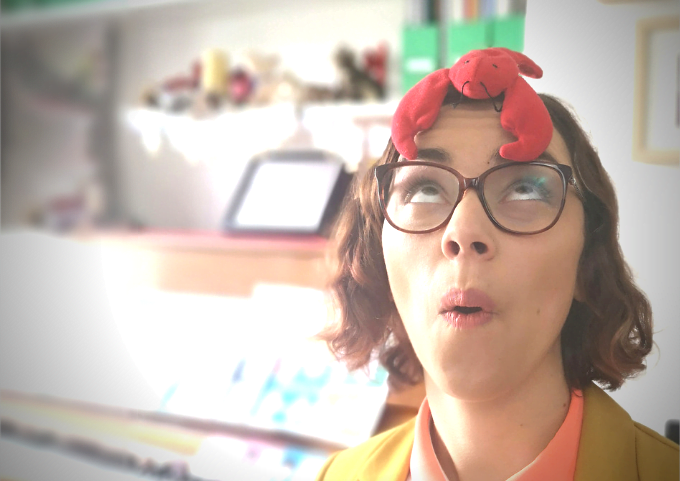
Steve is a lobster beanie baby who was born many years ago in a Happy Meal box. He has since grown into the wisest assistant any piano teacher could ask for.
When young students’ piano posture needs to be corrected, I’m not the one who does it – that’s Steve. He hops onto their shoulders to remind students to relax them down, and nudges his little claw under their hand to help them form a round hand shape.
I think every piano teacher should have a cuddly assistant to help them dole out piano posture tips. It makes it so much more fun and memorable for kiddos. 🐵🦊🦄
What do you do when you have a wiggly child on your piano bench?
I’d love to hear your thoughts on this in the comments below.
Need more help teaching beginner piano students? Check out the resources on my hub page devoted to Planning Piano Lessons.

Terrific ideas! I am having “the wiggles” problem with my autistic children. Incorporating both the exercise and using Steve the Stickler is my next practice. Thank you.