This article about using movement when teaching group music lessons was written by Paul Myatt. Paul is a passionate music teacher, performer, composer and workshop facilitator. He teaches 50 students in 9 hours per week with group lessons filled with beginners to advanced students. He’s a firm believer in collaborative playing for all students. Paul and his colleague Gillian Erskine created ForteMusic in 1993, which now has nearly 8,000 students across Australia, New Zealand, UK and the USA. In 2019, Piano Teaching Success was created to help teachers engage and motivate their students through Whole Body Learning.
When it comes to teaching group music lessons, there are 2 key pillars essential for success. And they both involve movement. The first pillar is to make it multi-sensory, and the second is multi-modal.

If you’re familiar with multi-sensory learning, you’ll probably know that it involves being visual, auditory and kinesthetic. Being visual incorporates reading, auditory includes listening and kinesthetic involves movement.
Multi-modal relates to the different modes of instruction. The age-old standard used in piano teaching is putting the sheet music on the music shelf while your student reads and plays.
But what about getting off the bench to move and sing? Or playing percussion instruments? Maybe you could even incorporate analogue and digital technologies to learn new concepts?
I call this Whole Body Learning, and it always involves the use of movement.
Different Ways to Use Movement
Take a look at this video and see if you notice all the different movement activities with this class of students.
You can see the students were using movement in three different ways:
- Off-the-bench activities
- Moving from piano to piano
- Moving around the classroom to other learning areas
Let me break down each of those areas for you.
Off-the-Bench Activities
These may include body singing, playing untuned or tuned percussion instruments or movement and dance with scarves, ribbons or other items. The critical requirement for all off-the-bench activities is there needs to be a purpose. If we understand the purpose, we can give our students a sense of what they’ll learn and how and why the movement will be beneficial.
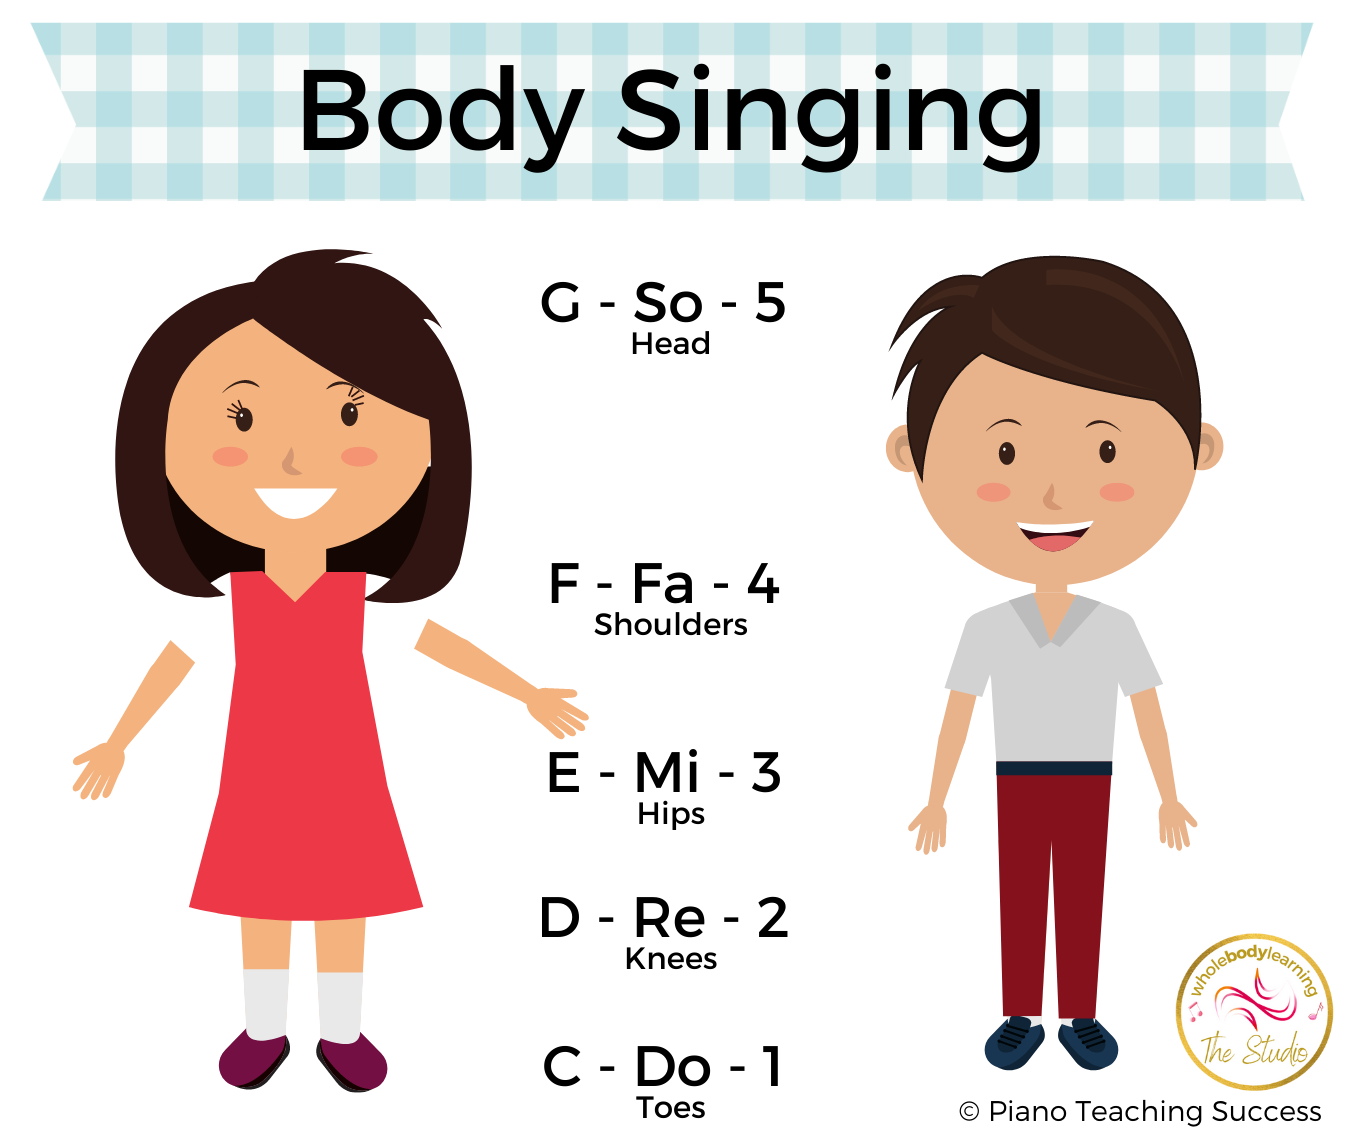
Take the ‘body singing’ example in the video, where the students are singing and using their hands to illustrate the pitch. The movement in this activity has multiple benefits:
- It engages the student by giving them something to do (critical for group music lessons, and a game-changer in one-on-one classes)
- The backing track helps students listen and move their hands in time with the music, developing rhythmic stability
- The specific movements promote an understanding of the vertical representation of pitch from printed music and assists in developing reading comprehension
- Singing the notes reminds the student what notes they need to play, encouraging aural recognition or a “good ear”
- The articulation in the movement activity provides a concrete understanding of legato and staccato
The students in the video had been learning this piece for 3 – 4 lessons. The ‘body singing’ activity helped students recall the piece through movement and singing in preparation for playing.
Moving from Piano to Piano
In my past teaching, I used this trick to keep my students engaged, get some (secret! 🤫) repetition happening and build community in my group piano lessons. It wasn’t until I was invited to be part of a neuro-pedagogy study by Dr. Robyn Staveley (University of Technology Sydney) that I discovered the other learning benefits of moving from piano to piano.
Dr. Staveley explained that doing the same activity in a slightly different way, e.g. at another piano, enhances memory retention.
We love it when our students can remember more effectively, as it helps with practice at home. In this lesson, the students also frequently revised the untidy final two bars by changing instruments.
If you have multiple keyboards for one-on-one lessons, you might like to use this type of movement.
Even if you only have a single piano, ask the student to play in one octave and then an octave higher. Keep moving up the octaves until they run out of notes. Avoid descending down the keyboard as the sound won’t be pleasant due to the closeness of the overtones in lower registers.
Moving to Different Learning Areas
In this video, three learning areas were used:
- On the floor at the teacher’s piano
- At the student’s piano
- Moving to the next piano
Other physical areas which may be used in group teaching include:
- The centre of the classroom (great for working with students in in circles and lines)
- At the whiteboard when teaching reading
The History of Using Movement in Music Teaching
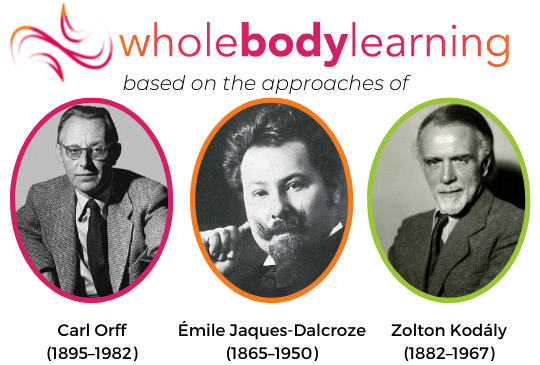
If you think back to the pioneering music educators Orff, Dalcroze and Kódaly, what did they all have in common?
Their students learnt by singing.
Orff and Dalcroze in particular truly knew the value of movement, and could see how moving the body through space along with the singing promoted a deeper understanding of the concept being taught.
Simple Orff and Dalcroze activities like “keeping the beat in your feet” help students of all ages in feel the pulse.
Using Auditory Support Sources
These educators didn’t have the technology that’s available to us today. Backing tracks, YouTube clips and other recordings can revolutionise your teaching because they give you so much freedom to incorporate movement.
Backing tracks are critical when teaching group music lessons so the teacher can move around the classroom and help students. More importantly, they provide an accompaniment for students to move with.
And let’s face it, clapping along to someone playing the piano is OK. But when kids get to sing, dance and move with a band or orchestral track, it becomes much more fun while engaging their ears and their whole body.
Moving to auditory sources like backing tracks also results in more robust neural pathways and enhanced memory retention. To put it simply, listening, singing and moving help put the memories in the right places in the brain.
So when students get home and play a backing track, they’ll remember how they moved and sang in the lesson. This auditory recall is vital in the early years so that the student (and the parent, if they don’t have a musical background) can remember “how it goes.”
Using Percussion
You can extend movement activities by using tuned and untuned percussion instruments, which is a foundation of the Orff-Schulwerk approach. Specific movement activities can set your student up to play percussion instruments.
It’s OK to make mistakes with movement, and both teachers and students need to know that! When we were kids, few of us learned piano by way of movement – so go easy on yourself. Start with some easy off-the-bench activities and move on from there. As you become more experienced, you’ll find it more accessible and notice how the music starts to teach itself.
This final video from a series of Whole Body Learning activities incorporates movement, different learning modes, percussion instruments, and a backing track for a Grade 4 Trinity College exercise from the 2021-2023 syllabus.
Do you use movement in your group music lessons?
If you do, what sorts of activities do you like to use? Share your ideas in the comments below.
For more help with your group music classes, check out Nicola’s centralised hub page entirely devoted to planning lessons.
How do I find backing tracks? Is there a good source you can direct me to?
Hi you can access them at Piano Teaching Success.
Thank you!