
This blog post about tracking piano student progress with videos was written by Joanna Shiel. Joanna has been working in music education for 13 years. Over the last 15 months, she has been a digital nomad, teaching remotely worldwide from a total of 7 countries – refining her collection of digital piano teaching resources as she’s travelled. She’s also a guest blogger and editor for Vibrant Music Teaching. Her dessert of the month is whatever fruit she can get her hands on.
Have you ever had a piano student or family want to quit lessons because they don’t think they’re making progress? Some of my students can be really hard on themselves, not seeing how far they’ve actually come. (I’m especially looking at you, my adult and teen students!) These students are constantly doubting themselves, convinced that everything must be absolutely perfect or else they are failing.
Recognising progress in piano lessons isn’t always easy for students. After all, learning piano is a long-term pursuit and it takes time to see results. Achievement is particularly hard to notice during the inevitable plateaus when transiting from beginner to intermediate to advanced levels.
Since I run an online piano studio, the traditional paper-piano-lesson-progress report alone just wasn’t cutting it anymore. Sure, the words on the page sounded fancy and impressive. But were they really convincing piano students and their families that there was noticeable improvement, and that all those lessons were a worthwhile investment?
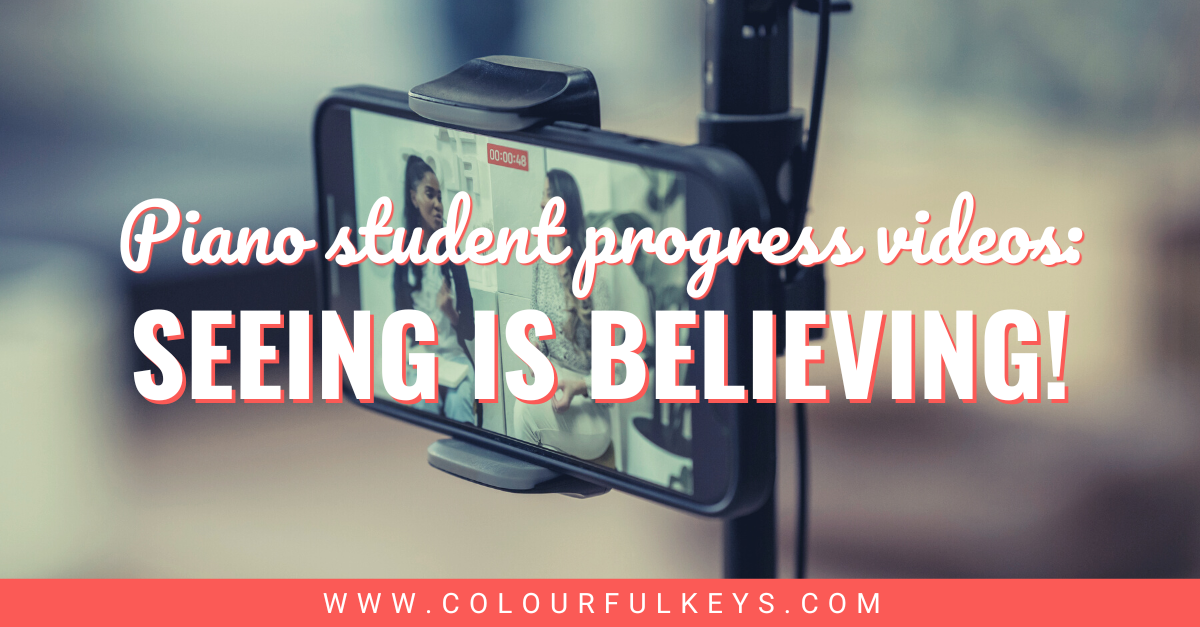
Ever searching for new ways to keep my piano studio up-to-date, I decided my online studio needed a novel and more tangible way to track student advancement – and that’s how progress video assessments were born!
The Value of Video Assessments
When I tested out using videos to demonstrate piano student progress, I discovered some happy side effects.
Benefit 1: Showing Long- and Short-Term Improvement
When students can compare a video made at the beginning of a teaching year to one made at the end of the year (or even from one month to the next), they can see more subtle differences such as:
- Improved physical technique
- Greater confidence
- Enjoyment of the pieces
The cherry on top of the cake is that these are some of the reasons why people learn the piano, but let’s be honest: It’s not always easy to to convince someone about the progress in just a written report.
After all, seeing is believing!
Video recordings not only demonstrate long-term progress, they can also help a student see shorter term improvement on just one piece or technical skill. It’s often a confidence boost for a student if they can see themselves playing a piece a few weeks back compared to how they’re sounding at the moment, and gives them the encouragement and motivation to say, “I really can do this!”.
If you’ve set goals with your piano student earlier in the studio year, progress videos can serve as tangible evidence that the goals are being met.
Benefit 2: Encouraging a Polished Finish
Students naturally want to perfect pieces when they know they’ll be going on the record!
Filming students offers a great opportunity to polish and tidy up a piece to a high standard as well as offering a deeper insight into a piece that might have been skirted over before.
Benefit 3: Allowing for Creative Performance
Setting up a performance for filming is a different experience to playing live on stage or in an intimate recital in front of friends and family. While recitals can get stuffy and formal, filming a video can tap into a student’s inner thespian.
Making a video performance requires students to think about:
- Entrances and exits
- Appearance of surroundings
- Special lighting, props or edits
- Attire/costumes
Benefit 4: Giving Closure
Filming a performance can help put a full stop on a piece. It provides a marker from which the student can move forward – almost as if to say, “This piece has been finished now, and is set in stone.”
Benefit 5: Making a Memory
With technology at our fingertips, it’s never been easier to document our students’ learning paths. Isn’t it wonderful that we can capture the very first piece our students ever learnt or performed, and the many milestones along their piano journey?
What an amazing memento it is to record the many steps on their marvellous musical adventure!
Producing Video Recordings
Making student videos doesn’t have to be a difficult, fancy or time-intensive process.
Equipment
You don’t need much at all to get started. A hand-held smartphone is all that’s necessary. I’ve found that homemade recordings offer a level of intimacy and nostalgia that is priceless.
If you’re really into the recording and editing process, consider purchasing an online course or better equipment as a professional investment.
Editing
If you want an extra polish on your videos, you may want to see some edits to the recordings.
If you want to do the editing yourself, there are many software programs you can use to make this task simple and straightforward. iMovie for Mac and CapCut for other devices are intuitive, easy-to-use programs.
And if you really want something simple, most smart phones have basic editing software built in to their video recording functions.
I recommend hiring out for video editing if you don’t have time or feel uncomfortable with the process.
Location
Don’t worry! There’s no need to rent a film studio for making student videos.
In Studio
You might like to take charge of quality and consistency by filming in your studio. You can set up a camera and, if desired, special lighting. Add props and backgrounds if that’s your jam, or zoom in and pan like a Hollywood director if the spirit moves you!
Most of all, remember that your videos don’t have to be formal or professional. Simply holding up your phone or tablet during a regular lesson can be just as effective when making videos to show piano student progress.
At Home
Although at-home recordings may vary in quality, they often make up for that by being more interesting. I’ve had parents experiment with camera angles, props and even backgrounds.
Students also feel more comfortable on camera when they’re in their own space, and parents naturally get more involved in the learning and video-making process.
Deadlines
Whether filming videos in your studio or having families record at their house, it’s vital that everyone is aware of when recordings will be made and/or when they are due. Be sure to communicate these expectations well in advance to ensure a great experience for everyone involved.
Video Storage
I’m sure many of us have a loose (some looser than others🤪) collection of student videos on our phones and/or computers. In order to have easy access to videos, though, you will want to store them in cloud-based apps like Google Drive or Dropbox.
After recording the video, move it to a folder in your app of choice right away. You can title the folder with the student’s name, date or performance setting. That way, you can quickly find the video you’re looking for anytime and anywhere you need.
Sharing the Piano Student Progress Videos
There’s no point in making piano progress videos if you aren’t going to share them with the student, right?
QR codes
Since you’ve been saving student performances in a cloud-based storage app, it’s simple to turn each video into a QR code. You can create a QR code easily using Canva.
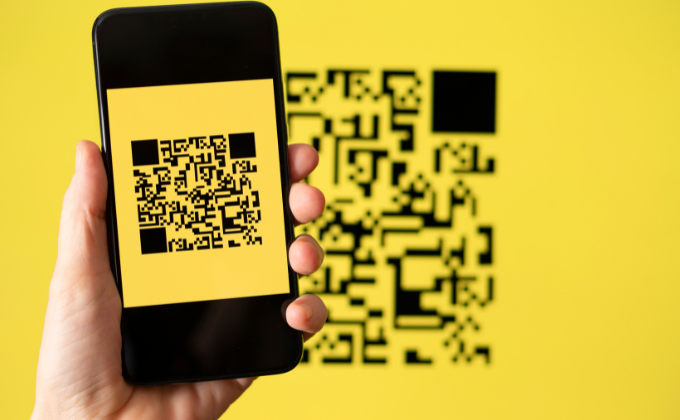
Add the code to a physical paper report, a pdf or an online progress report so piano families and students can view the evidence of progress with their own eyes.
YouTube
Encourage students to create their own YouTube channel in which they could upload videos of their performances.
If students or families aren’t comfortable with this technology, create a guide for them to follow so they feel less overwhelmed with setting up the channel and uploading content themselves.
Decide the frequency of posting with your students, and make a habit of checking in with them regularly to help them if needed.
Wall of Fame
Use Google My Business or your website for a “wall of fame” in which you share student performances. You could also set aside space on your Facebook page to highlight students’ video content.
This strategy not only lets students and families see progress, it also works as a fantastic marketing opportunity, highlighting what your students are achieving to your local (and global) community.
An Important Disclaimer…
Before you even think of sharing videos beyond the student’s own family, be sure to get authorisation from students’ parents and/or adult students. Ask parents and adult students to sign a media usage consent form that will allow you to use these videos on websites, social media etc.
If you don’t currently have a media usage permission in your studio policies, be sure to include a consent sign off in your policies each year. Then you’ll be all set to share these recordings in the future.
How would filming piano student progress videos benefit the families in your piano studio?
Let me know in the comments below. 🙂
For more resources and tips about motivation and goals, visit Nicola’s amazing hub page devoted to everything about music student practice.