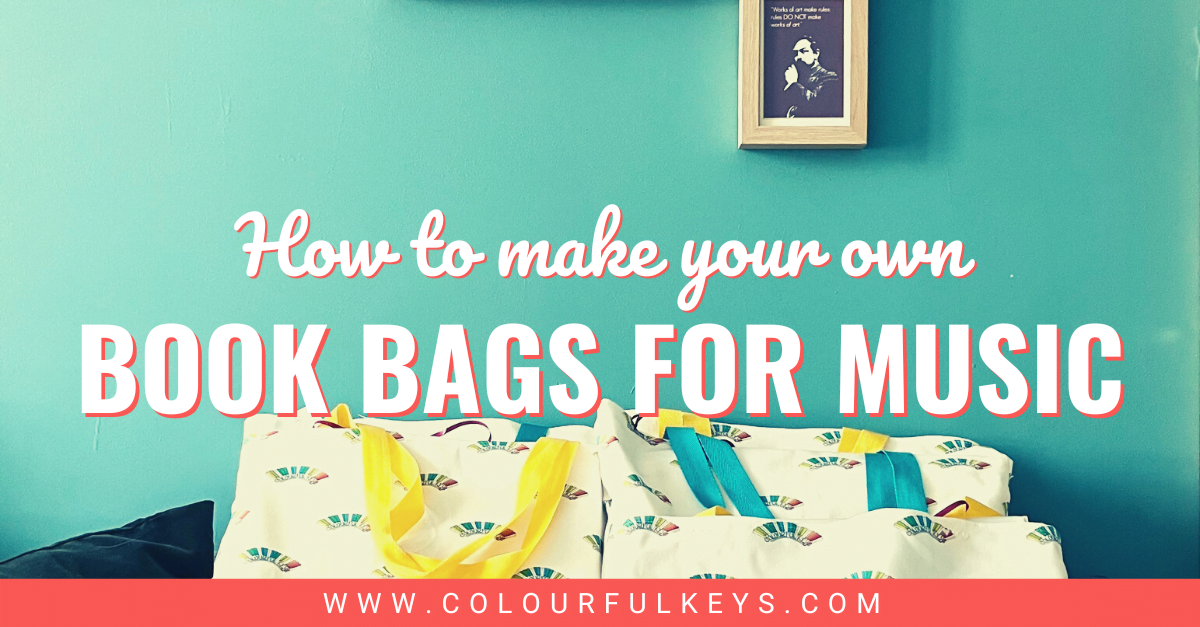
The perfect piano book bag is just the right size to fit piano music books and folders, but not so big that kids find them hard to handle. I sew my own book bags for my students’ music so that I can have them just how I like.
If you want to do the same, read on for full instructions!
Before we get into the full tutorial for these music book bags, I want to get one thing clear…
This. Will. Not. Save. You. Money.
I’m assuming you’re reading this because you like to sew for fun so that’s probably no big surprise to you. Sewing ain’t a cheap hobby. 💸
While these bags won’t be cheaper than logo bags you can order off Vistaprint or somewhere like that, they will be better quality and the perfect size for piano books.
Full Video Tutorial
Prefer written instructions? You got it. 😎
Step 0: Choose Your Fabric
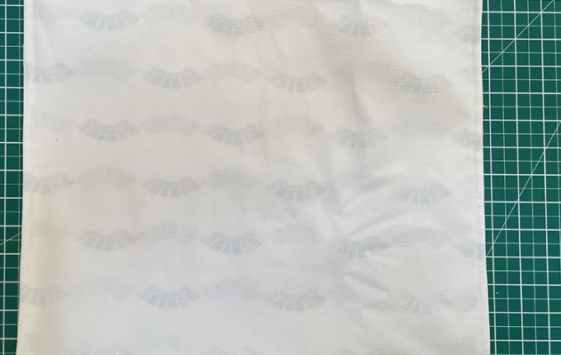
I get my fabric custom printed at Spoonflower. There are many fabric printers out there so do your research to find the best deal where you are.
This time I chose a cotton canvas for some extra structure, but I would NOT recommend this if you don’t have an industrial or heavy-duty sewing machine. Just go with something like a cotton poplin or quilting weight so your regular machine doesn’t struggle to get through all these layers.
You can also just buy some cheap fabric and not get it custom printed. But I think if you’re going to the trouble of DIY-ing, they might as well be personalised to your studio.
Step 1: Cut Fabric and Straps
Cut a rectangle from your fabric that is 80cm x 45cm (31 ½ inches x 17 ¾ inches).
If you are making several bags, this layout works well to cut three across the width of the fabric with it on the fold.
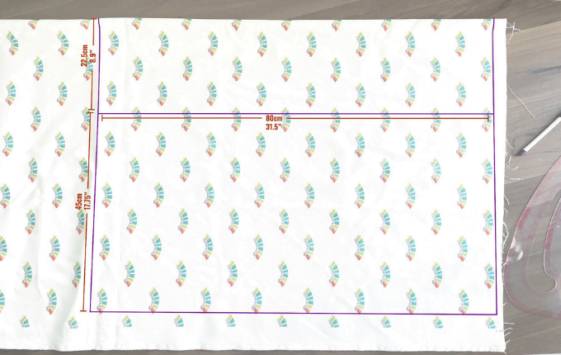
Cut straps from herringbone, webbing or another ribbon of choice. Cut two 60cm (24 ¾ inches) straps per bag.
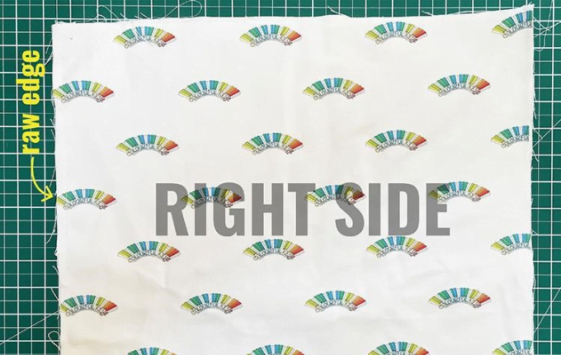
Step 2: Sew French Seams at the Sides
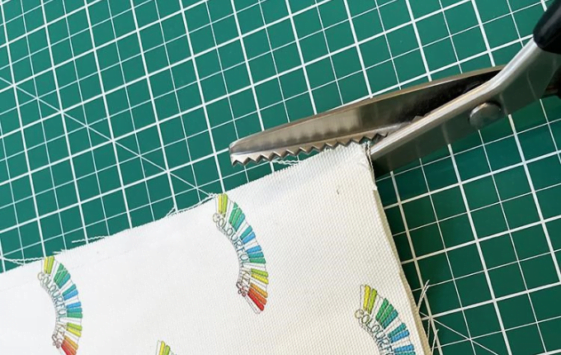
Sew the side seams with the wrong sides together and a 6mm (¼ inch) seam allowance.
Trim the seam allowance with pinking shears, rotary cutters or scissors. Be careful not to cut it too close, but you do want it to be quite close and neat so there are no threads poking through the seam when it’s finished.
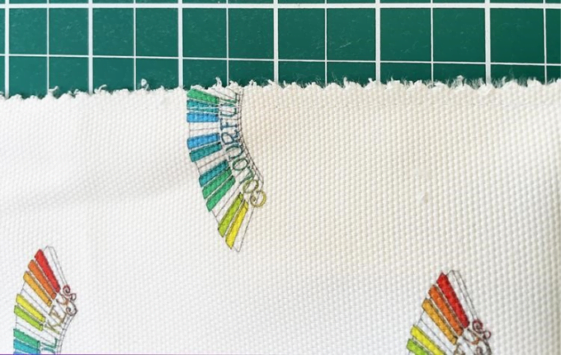
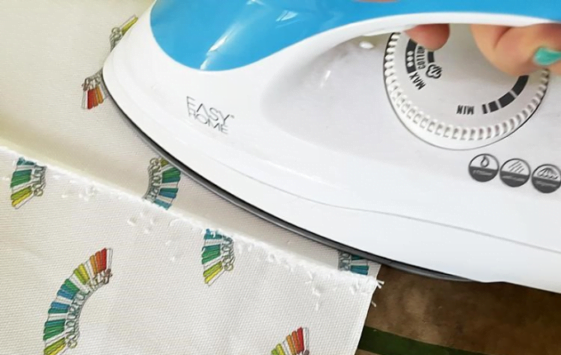
Press the seam allowance to one side then turn the bag’s wrong side out and press it flat, rolling out the seam edge as much as you can.
Sew the seam again with a 1cm (⅜ inch) seam allowance, this time with the right sides together, so that you enclose the raw edge in the seam.
Step 3: Box the Corners
With the music book bag still wrong-side-out, fold the bottom corners so the side seam sits on top of the bottom fold.
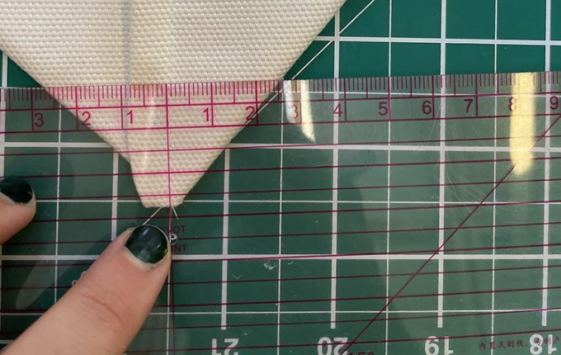
Using a pattern master or set square, mark a line 2.5cm (1 inch) from the edge and from either side. I use a vanishing fabric marker, but you can use anything that will disappear or wash off.
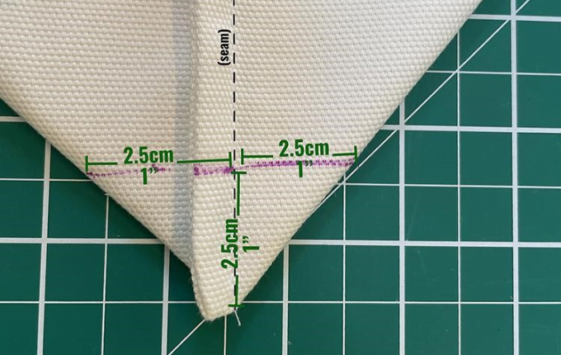
Sew along this line to create a wedge. Repeat these steps for the other side.

Turn the bag right-side-out. The wedges will create a bit of structure at the base which allows the bag to stand up.
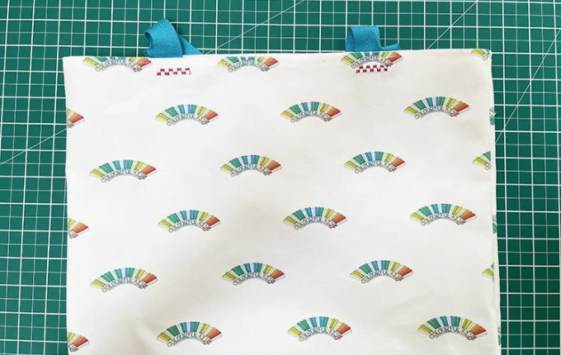
Step 4: Finish Top Edge and Attach Straps
Overlock the top edge. If you don’t have an overlocker/serger, use an overedge or a zigzag stitch on your sewing machine.
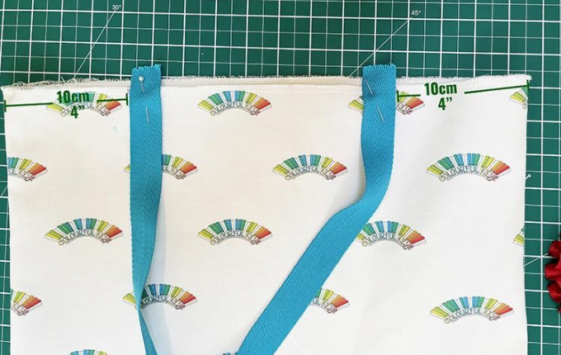
Mark or notch the top edge 10cm (4 inches) from each side seam.
Pin the straps so that they sit inside these notches. Leave an extra 2cm (¾ inch) or so of the strap sitting over the edge. Baste/tack in place.
Turn the overlocked edge 1cm (⅜ inch) towards the inside and press down. Sew this in place so you catch the overlocked edge underneath.
Step 5: Reinforce Straps with Bartacks
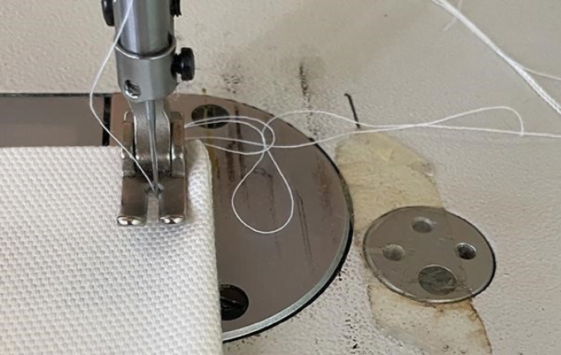
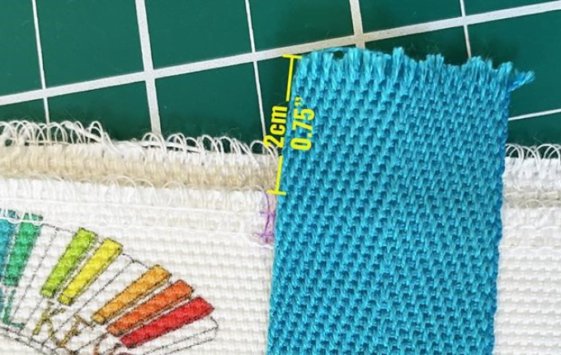
Sew a bartack, zigzag or decorative stitch about 2cm (¾ inch) down from the finished edge at each of the straps to reinforce them on the piano book bag.
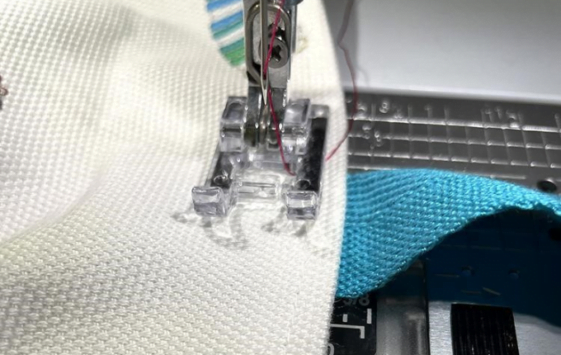
In the photo, I’m using a decorative stitch, but that’s just for fun! A basic zigzag or even an extra row of straight stitching will do fine.
You did it! Now next time you can cut a batch of rectangles and do each of the steps for every piano book bag at the same time, assembly-line style, to make it way more efficient.
Do you make anything for your students?
I’d love to hear what crafts you find relaxing in the comments below. 🙂
For more organisational tips you can use in your music teaching studio, check out my Studio Business hub page. There’s an entire section devoted to clearing the chaos so you can see things clearly.
Wow thanks Nicola for this! I do have a heavy duty Singer machine and am thinking of sewing some tote bags with my studio logo on one side maybe as a pocket in the front. Will be experimenting with this and see where it goes.
I love this and was thinking of doing it this year as a Christmas present .. combines my 2 favourite things – music and sewing ! Thank you