I design (and therefore cut, laminte, tape and put together) lots and lots of piano teaching games. How I assemble piano teaching games has changed and evolved as I’ve found what works and what gets the best results.
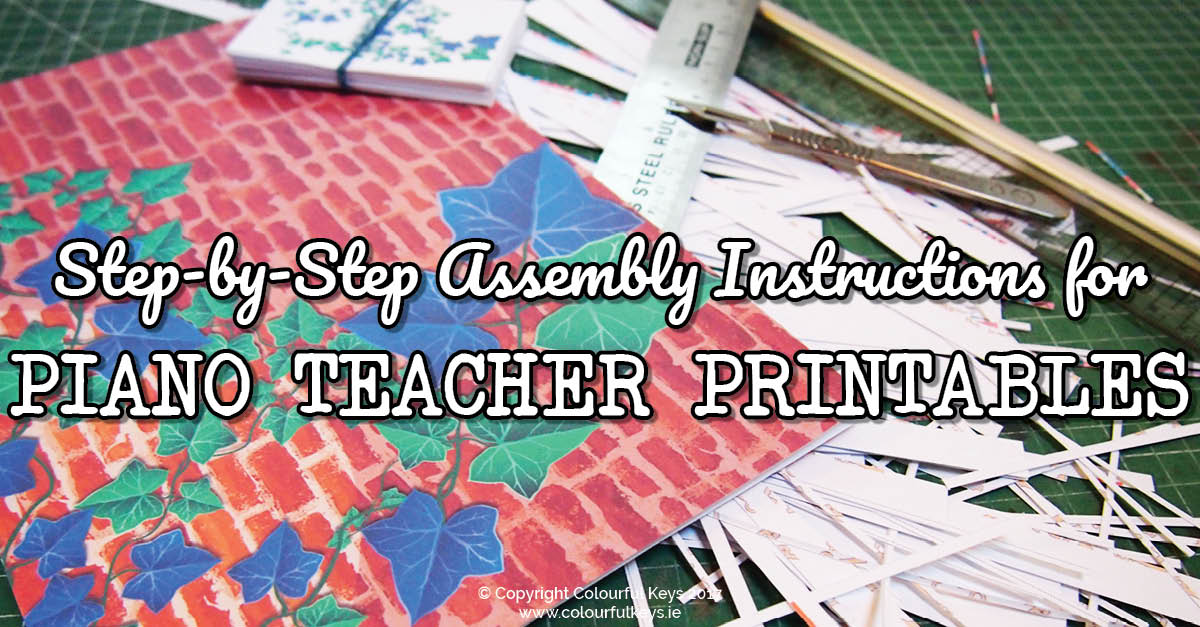
Since I get a lot of questions about the detailed process of putting together these games, I decided to document the whole process as I worked on a new game for my Vibrant Music Teaching library.
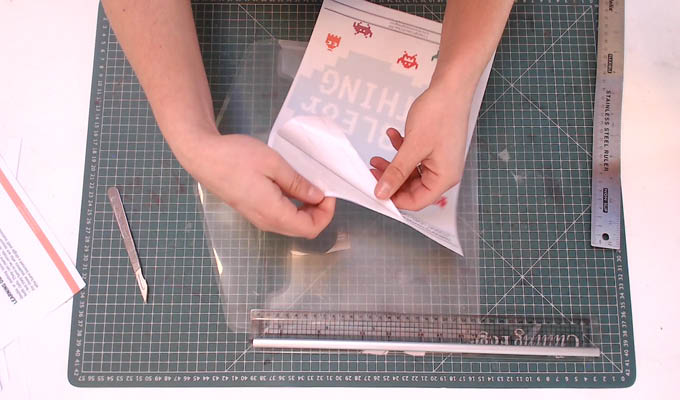
You can see the entire step-by-step process in this video, from start to finish.
If you just want to watch a specific part go to:
- 4:09 for trimming game cards
- 8:28 for laminating
- 13:48 for the game instructions
- 14:45 for the cover/folder
- 16:20 for the game board
- 19:10 for what I put in the game folder
Not into watching video right now? Keep scrolling for full written instructions.
Disclaimer: This post contains some affiliate links. Buying from one of these links does not cost you anything, but I do receive a small referral fee for sending you.
Printing Piano Teaching Games
Because of the nature of piano teaching games, printing them out usually requires more thought than just hitting “print”.
I try to make my instructions as clear as possible so you know which pages need to be double-sided, and which don’t.
Here’s the process I follow when printing a game like this:
- Print the game board pieces on card (180gsm or more will work best).
- Print the game cards, double-sided, on card. If your printer does not do double-sided printing, you will need to print odd pages, reinsert, and print the even pages. You may need to download the file in order to do this.
- Print the cover on a full sheet label like these ones.
- Print the instructions on regular paper.
If you ever have trouble printing exactly the way you want, download the pdf first. The button should be in the top right corner of your browser, or you should have the option when you right click.
NB: If you’re in the US and printing one of my resources, please tick the “Fit to Page” or “Scale to Fit” box. If you’re using A4 paper, you can leave it at the original size.
Trimming Game Cards
The fastest, truly accurate way to trim down game cards is using a metal ruler and a craft knife/scalpel. If you don’t care as much about this looking neat (no judgement!), feel free to use scissors or a rotary trimmer. I’m sure your kiddos won’t notice. 😉
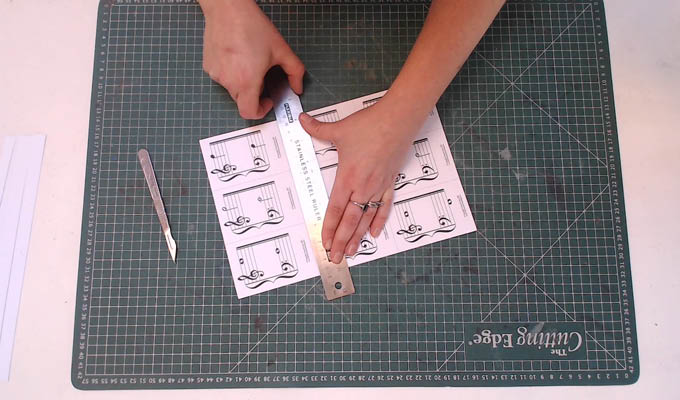
Here’s the equipment I use:
Using the dotted lines, I start by trimming around the edges, then cross-ways, and finally cutting each card down to size length-ways. This makes for the most efficient number of cuts, with the straightest edge possible.
Laminating Game Cards
If I’m going to laminate, I do this after cutting down the game cards to size.
Yes, this means more cutting! But if I’m going to go to the trouble and expense of laminating, then I want them to last. If you laminate first, and cut into the paper and laminate together, the edges will likely peel over time. Yuck.
I place the cards in the laminating pouch in loose rows, using all the available edges. This makes for less trimming after lamination.
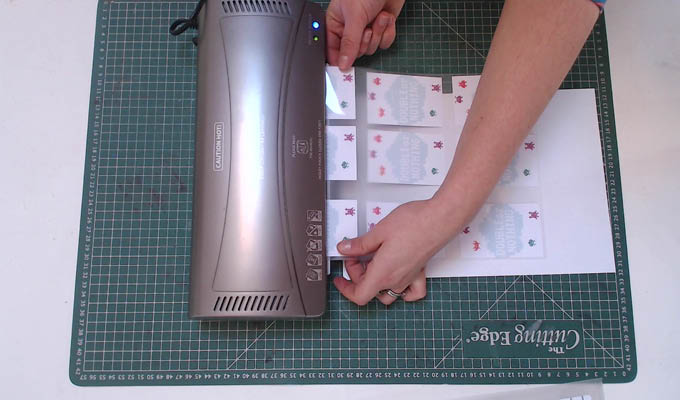
I use light laminating pouches like these ones. I honestly find no difference at all between brands so just get the cheapest you can find. I’ve never had any that “don’t work”.
After I’ve laminated the cards, I trim them down again, leaving a few millimetres around the edge of each. Then I round the corners with a scissors (probably overkill but I don’t want a student get a cut/scratch from a game card).
Assembling Game Boards
Many of my game boards come in several pieces that need to be taped together.
The first thing to do is to trim along the dotted lines, again using:
I only put the dotted lines where cutting is essential. You can leave the white border around the other edges if you like.

Then I line them up, and put a small piece of tape so I can check they’re lined up correctly before taping the whole way along. If the alignment is all good I then tape the whole way along the back using:
- Invisible tape if the game board is not laminated
- Duct tape if the game board is laminated
Top tip: Always leave a tiny gap between the board pieces when you’re taping. That way it will fold over nicely without creasing.
Instructions & Game Covers
I like to include the game instructions inside the folder so that when I lend my games to students to take home, their parents can figure out how to play. I simply trim off the bottom part of this page with the assembly instructions and learning objectives.
The cover, which I print on a full sheet label goes on the front of the plastic wallet folder than I store each of my games in.
These folders are super handy because everything is always ready to go – and then can be filed away neatly in my games library area of my studio. The cover on the front helps me to know at a glance what’s covered, and what level the game is.
What Goes in the Game Folder
Inside each folder you’ll find:
- Counters/tokens
- Dice
- Game cards
- Game board
- Instructions
- Anything else needed to play that particular game!
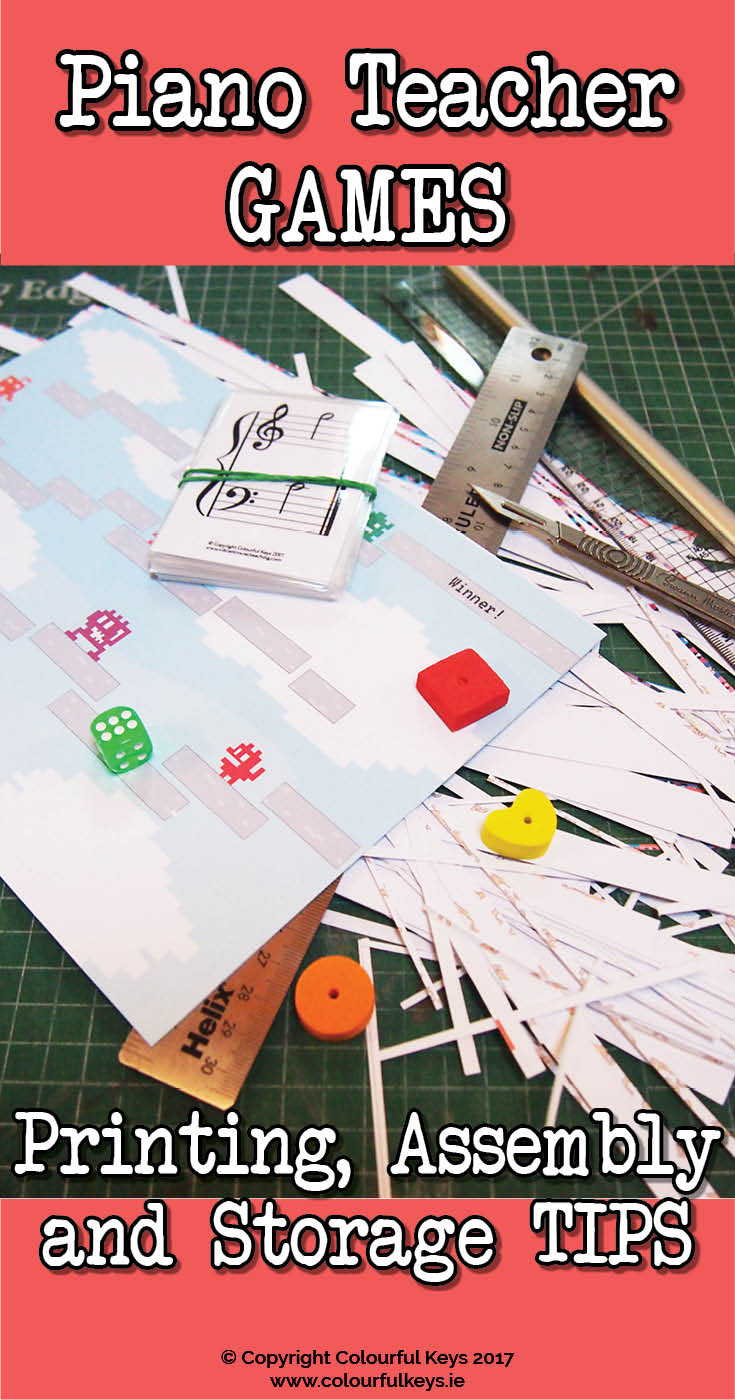
These games live under the games table in my studio, organised by concept. I regularly lend them to students as their theory homework (imagine their delight!) and use them in both one-on-one and group lessons.
Want to start your own games lending library?
You can find games like the one featured in the video, and tons more awesome stuff, inside the Vibrant Music Teaching library. Become a member today and fill your studio with laughter and learning. 🙂
Dear Nicola,
I just watched your video on printing and laminating your games. I am a scrapbooker and when I am putting together your printed games I have found these inexpensive tools make the job go much faster. For cutting I use a paper trimmer . For corner rounding I use a corner rounder. There are links to both below, or you might find them in a craft sgtore that sells scrapbooking or cardmaking products.//www.amazon.com/AIDOX-PP64B-SM-RED-Corner-Rounder/dp/B00161Q13C/ref=sr_1_5?ie=UTF8&qid=1517166782&sr=8-5&keywords=corner+rounder
https://www.amazon.com/Jielisi-Titanium-Automatic-Security-Safeguard/dp/B00LX398CY/ref=sr_1_6?s=arts-crafts&ie=UTF8&qid=1517167193&sr=1-6&keywords=paper+trimmer
Nice! Yeah the paper trimmers I find aren’t quite accurate enough and generally strain my hands more than the scalpel. Good that they work for you though! A corner rounder sounds handy! 🙂
Nicola,
I love the wallet folder idea! How are you able to see at a glance where the game is in your file (as you would normally be able to do with the tab on a regular file folder)?
I keep them in magazine folders and each one has the game info (concept and level) printed in the strip at the top. So I can just flip through and see them that way.
Hi Nicola, sorry – I’m a little dense – I’m having trouble picturing what you mean by storing them in magazine folders and having the info printed in the strip at the top. Where is the strip that the info is printed on? Is there any way you might be able to snap a pic of what they look like once they’re in your magazine folders? Problems of visual learners…
Never mind, I found your other post about organizing games and figured out what you mean. 🙂
I love this idea! I’m definitely going to try it with my piano students!
Love from Singapore,
YJ, http://jinyujiapiano.com
Hi Nicola,
great idea to unse DinA4 pouches – I´m the one buying the little businesscard ones…
The plastic envelopes and printable stickers will be my next buy for the studio.
Oh, and I´m also that picky to trim the dotted lines… Some perfectionists are at work, isn´t it?
Greetings from Germany
Carina
The bcard pouches are definitely more convenient though! Glad I could give you some tips! 🙂
Thank you., Nicola. I especially liked the idea of taping the board with a little space between to make it easier to fold and store!
Thanks Suzanne! Glad it was helpful! 🙂